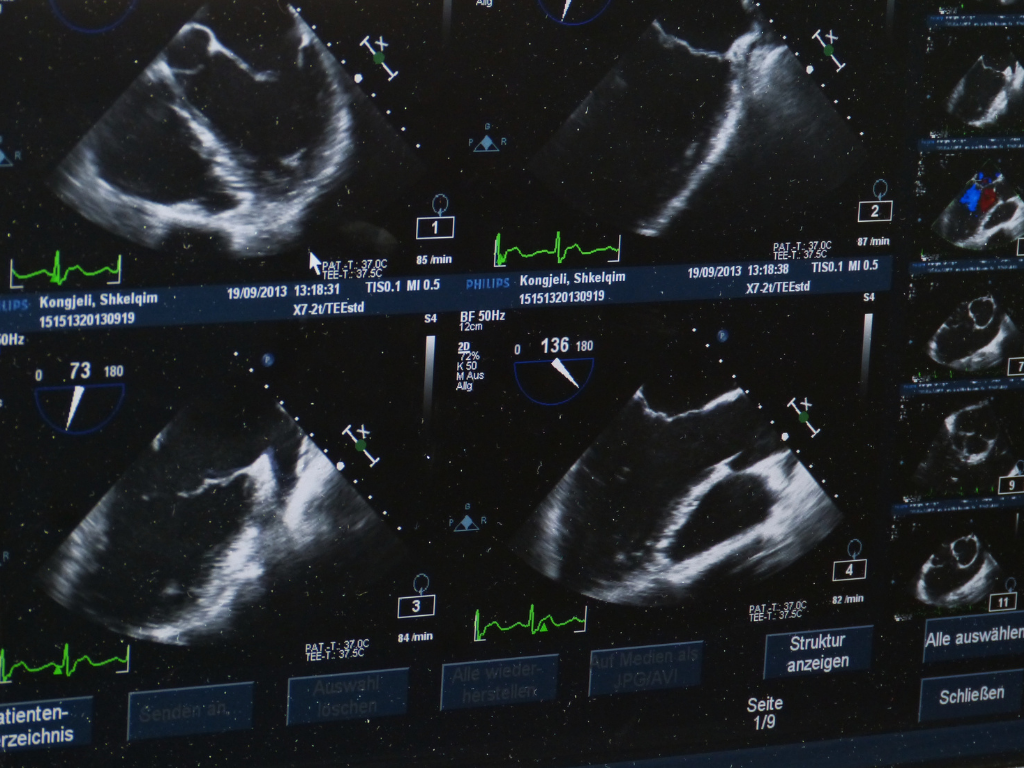
Ultrasound imaging uses sound waves to produce pictures of internal body structures such as bones and organs. It is primarily used to help diagnose the causes of pain, swelling and infection and to also document the growth of a baby in the womb.
Whether you are having a 2d, 3d or 4d external ultrasound scan carried out, the process is virtually the same. In this article, we will take you through the process of an external ultrasound imaging procedure.
Lubricating jelly is applied to the area
This lubricating jelly is applied to the skin to enable the probe to move smoothly across the area of the skin. The jelly also ensures there’s continuous contact between the probe and the skin to avoid any breaks in the imaging.
The probe is placed on the skin
A handheld probe or transducer is placed on the skin. This probe sends small pulses of inaudible, high-frequency sound waves into the body. These sound waves move through the body and ‘bounce off’ internal structures such as bones and organs inside the body.
An image is produced on the screen
When these sound waves bounce off the internal structures inside the body, they are sent back to the probe which then produces an image of these structures. These images are what we see on the screen.
The results
The images will then be looked at by a sonographer and doctor to determine the outcome and the results will usually be with the patient within 1-2 weeks.
Our Ultrasound Services
At Imagex, we service, maintain and repair ultrasound machines of all types. In addition to this, we also offer leasing agreements on a wide range of ultrasound machines from leading manufacturers.
If you would like to discover more about any of our services, click here.
