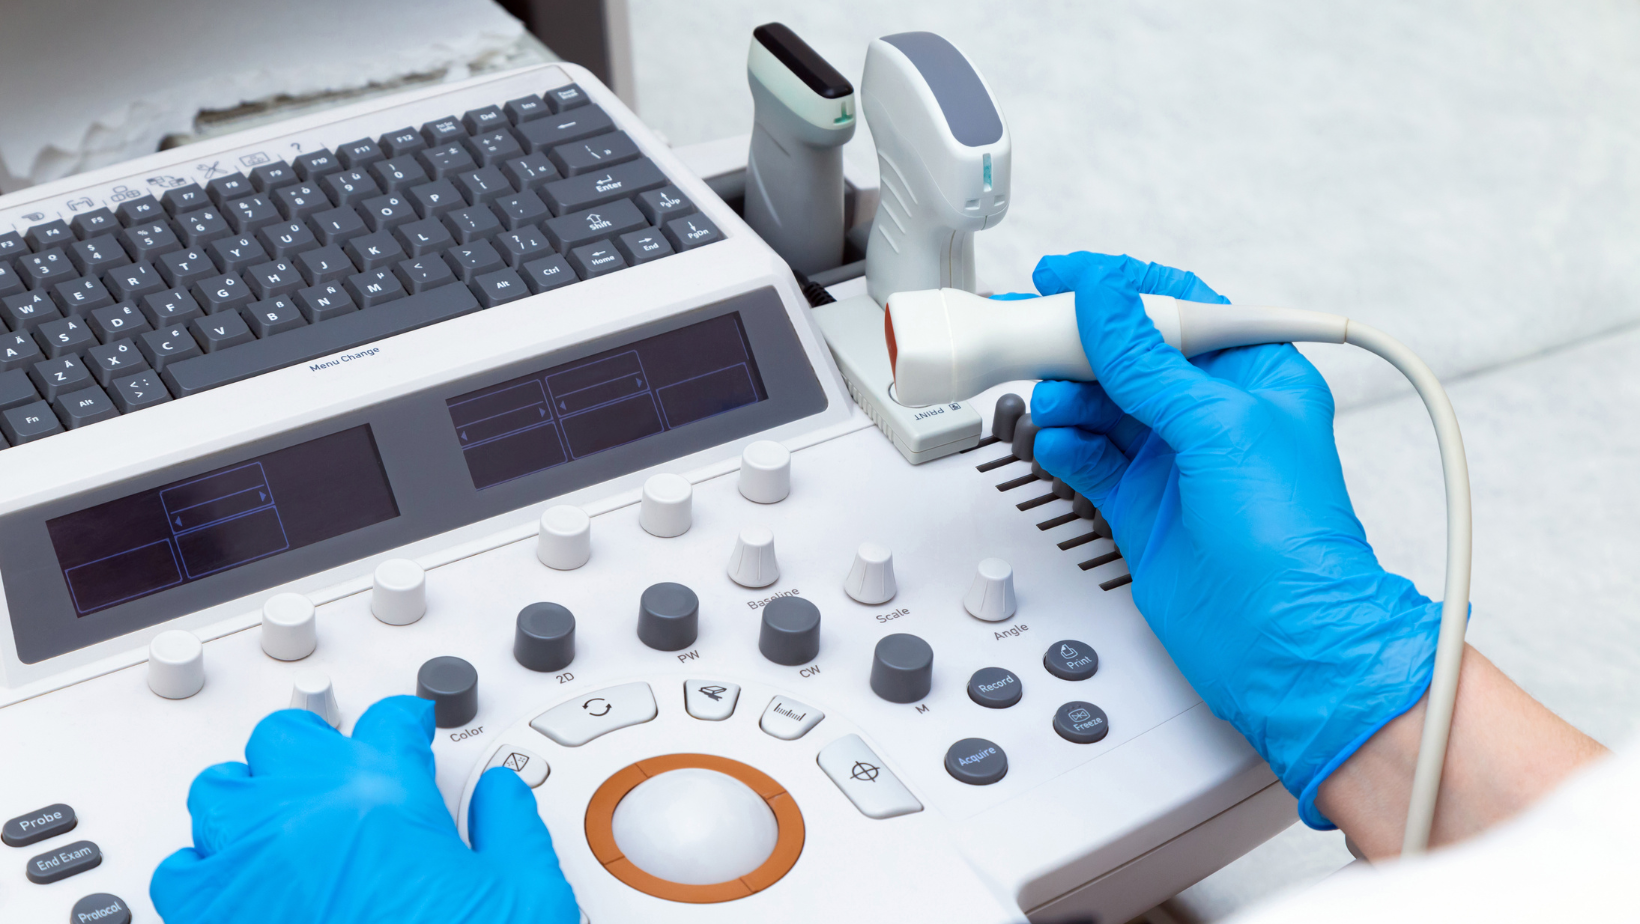
An ultrasound probe or transducer is an essential component in any fully functioning ultrasound set-up. Using a faulty or damaged probe is a significant patient safety risk, and repaired as soon as it’s identified.
Thankfully, even though they are highly technical machines, it is still possible and easy to repair them.
Image dropout
Image dropout is essentially a loss of image and manifests in two ways; either by displaying static or moving black lines or patches of shadows and light on the screen.
Lines on the screen – Lines across the screen occur when one of the piezoelectric crystals inside the transducer stops transmitting signals.
Patches of shadows and light – Patches of shadows and light usually indicate weak elements inside the machine that need replacing.
If the issue is severe enough, image dropout can block out a large portion of the ultrasound image, which may cause you to miss something significant and potentially misdiagnose your patient.
Visible damage
Split or cracked membrane – Although the membrane is designed to be durable, it can still become worn from prolonged use. Wear spots, cracks, tears, and holes are some of the most common issues we see in our repair lab.
Cracked strain relief – Over time, a crack or separation can form where the cable and probe meet, leaving the internal wires exposed, resulting in further damage, connectivity issues, and a loss of image quality.
Scratched lens – With extended use, probe lenses are susceptible to scratching, affecting image quality. Additionally, bacteria can get trapped in these scuffs, exposing patients to possible contamination.
How to avoid probe damage
With continued use over time, general wear and tear is expected and often unavoidable. However, there are things you can do to help prevent significant damage and prolong the life of your ultrasound probe.
- Check your probe before and after use to ensure all elements are functioning properly
- Train all users on how to correctly remove and insert connectors
- Always clean your probe according to the manufacturer’s instructions
- Do not store your probe wrapped up, as this puts unnecessary stress on the cord and strain relief.
- Consider placing a protective bag over the probe head when not in use
- Transport your probe with care to avoid contact with hard surfaces
- Where possible, store your probe in a foam-lined case.
If you’re experiencing any of the above issues, it’s important to get your probe looked at and assessed by the experts before they turn into expensive faults and failures. Our manufacturer-trained engineers can inspect your probe and offer an expert diagnosis. Once we have diagnosed the issue, we will repair your probe in our quality-assured lab and deliver it back to you in total working order.
Speak to our team today on 0330 0165 545 or email info@plxbq.nimsite.uk
